With only one full day left of vacation visiting my folks in Albuquerque, my brother and I were brainstorming things I hadn’t done before in the “Land of Enchantment.” He mentioned the Carlsbad Caverns, but we crossed it off the list because of the long drive…until I remembered I had seen flights to Carlsbad on the departures board at Albuquerque.
After some research, I learned that these flights were offered under the Essential Air Service program which provides federally-subsidized air service to remote cities that would otherwise be isolated. One of the largest companies in this space, Pacific Wings, has several “brands” like Georgia Skies and New Mexico Airlines that operate these contracted flights.
Booking
The New Mexico Airlines web site, like all of the Pacific Wing airlines, is a rebranded version of the parent company’s site. The web site itself was really easy to use, and return tickets to to Carlsbad were $187 each.
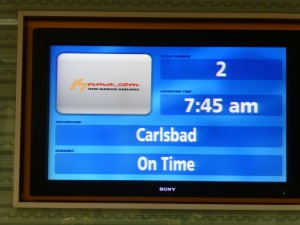
I booked the first flight out to Carslbad, LW02, departing at 7:45, and returning on LW86 at 16:45. Plenty of time for a day trip to the caverns.
I paid for the flights with my credit card, and received a confirmation e-mail a few minutes later with a true blue PNR. I wasn’t expecting that they had a real travel system on the backend. It turns out they really are a fully integrated airline with Sabre and Amadeus, complete with baggage interlining agreements.
I was curious to see if this airline was visible in ExpertFlyer. It was – it showed Y7 on the outbound flight, with the aircraft’s capacity at 9. It looked possible that we the only people booked on the outbound…
Unfortunately, Carlsbad is a one horse town – or rather, a one taxi town, that does not go to the caverns. There is, however, an Enterprise car rental in the city who will pick you up and drop you off at the airport.
Check-In
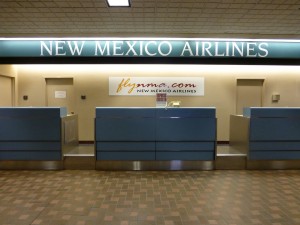
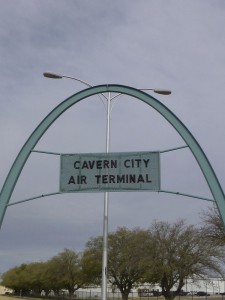
The instructions on the web site were clear that you must be at the gate an hour before departure, and I was a little worried I’d have a hard time locating the check-in counter. We arrived early, but my worries were unfounded because there’s a big sign we spotted immediately after entering the airport that pointed the direction to the New Mexico Airlines check-in desk.
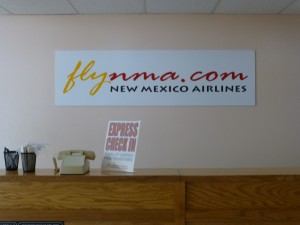
No one was staffing the desk, however there was a phone and a sign instructing passengers to pick it up. I was routed immediately to the Pacific Wings central call center, and the friendly rep completed our “pre-check-in” and gave us directions to the gate (100 meters away). She told us the pilots would be at the gate shortly to check us in. Interestingly, there is no TSA security check for these flights, you can walk directly to the boarding gate.
The gate is next to the NMA office, and a bunch of the staff were buzzing around. I had a friendly chat with one them. Today was a big day for them, they were breaking-in a new (to them) plane. The livery had just been done the day before, and they were flying it up to Los Alamos for a dog and pony show. That brings New Mexico Airlines total fleet to 3 Cessna 208B’s. I got a chance to see the new plane, N307PW:
I looked up pictures of the Cessna 208B’s before I left, and saw some from Georgia Skies, but none from New Mexico Airlines. The Georgia Skies Cessna’s didn’t seem to have much beyond a default boring plane scheme, so I was pleasantly surprised to see such a good looking livery on these NMA planes.
At exactly an hour before our scheduled departure, a pilot showed up at the check-in counter to take our weights and get our information. It was here I began to worry: our pilot looked really young – like he had skipped high school classes to fly this morning. He was also fidgety and nervous, and could have also used a lesson or two on interacting with customers. Thankfully he wasn’t actually the Captain, just the co-pilot who was still learning…
During check-in, he confirmed we were the only passengers, and then angrily ranted about how the EAS program is a waste of his tax dollars, and he’s often flying these routes with empty planes because of their contract with the Federal government. I thought it was strange, considering that’s where his pay check comes from. Also, if you lived in Carlsbad about four hours from the nearest big airport, you’d probably disagree about the worth of the EAS program.
Boarding
About 30 minutes before our departure time, the Captain showed up and it was a night-and-day difference from our co-pilot. He was older, and had that experienced aviator vibe that can make the most nervous passenger feel at ease. At 15 minutes before departure, the co-pilot made the announcement to board and we exited the terminal through the glass doors directly onto the tarmac.
As we were boarding the plane, the Captain asked us to sit in the last two seats, I imagine to keep the weight/balance in check.
Cabin
The seats were more comfortable than I imagined, with plenty of leg room, although the lack of a head rest made sleeping precarious. The seat belt was also over-the-shoulder, and shorter than you would expect. A taller person would be pretty uncomfortable lashed to the seat.
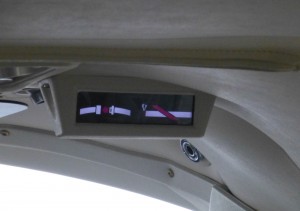
The plane is equipped with a single set of indicators for seat belts and no smoking. I do wonder, though, when it would really ever be safe on such a small plane to take off your seatbelt.
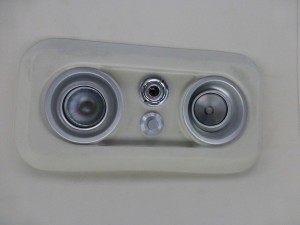
Each seat also had a reading light and air vent:
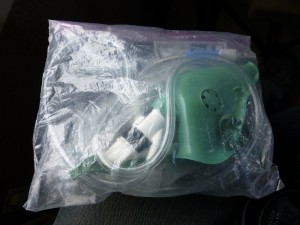
And an oxygen mask in the seat pocket, that would be connected directly to the air vent:
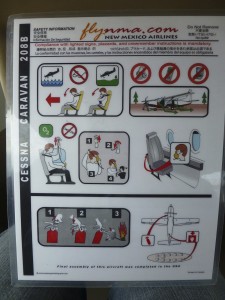
Safety Information Cards:
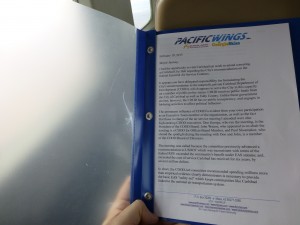
Each seat was also equipped with a copy of open letters between Pacific Wings and the City of Carlsbad arguing about the EAS contracts. Small town politics at work.
Flight
After we were on board, the pilots completed their take-off checklist, and we began taxiing to the runway. During the taxi, the co-pilot gave a rather dispassionate and fast security briefing that was a bit hard to understand. We were in the air quickly after that, and take off was smooth.
This was my first time on a single-engine prop plane, and there was not a single bit of turbulence on the way down to Carlsbad.
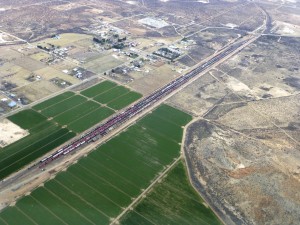
Directly around Albuquerque, I was treated to some scenic views through the Cessna’s big, big windows:
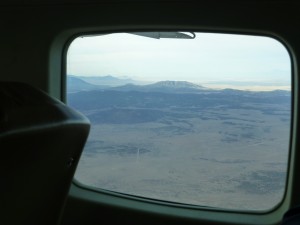
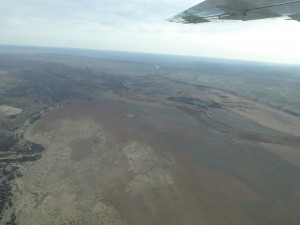
But once we left the Albuquerque, the scenery was not quite as exciting, desert as far as the eye can see:
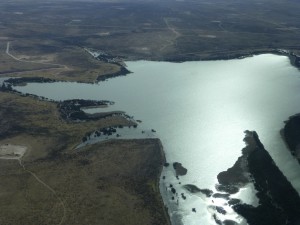
We were in the Carlsbad area about an hour after take off, and things started to look a bit greener:
Landing was as smooth as the take-off.
When we arrived at CNM, the Captain told us to be back by 16:15 for our return flight. The walk to the terminal building was about 50 meters, and at the door, the Enterprise representative was waiting. Luckily, we didn’t even need to go into the city: Enterprise had brought the car to us at the airport, and we completed the paperwork in the terminal. I wish the rental car would always pick me up at the door to the plane! It was very nice of them, that saved us about an hour of time!
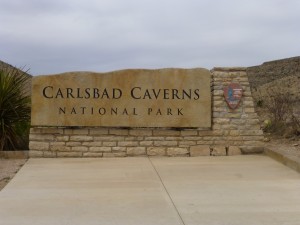
Carlsbad Caverns
The Caverns are about a 30 minute drive from the airport:
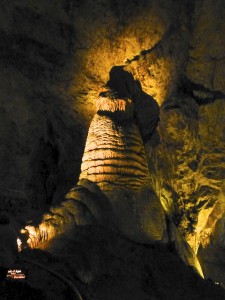
We got to the caverns about 9:50a.m., too late to join the 10 a.m. tour, so we did the self-guided tour with audio guides. The Caverns are incredible!
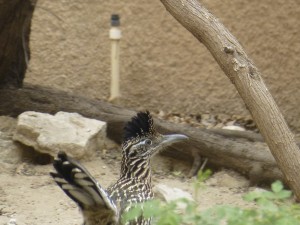
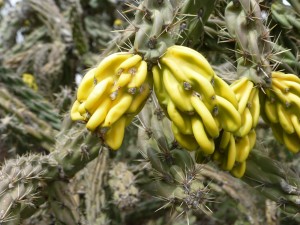
All in all, it took us about 3 hours to make it through the caverns. After eating lunch at the restaurant, we still had about 2 hours to kill before our flight. After some Googling, I found that the Living Desert and Zoo State Park was near by, so we headed over to take a walk around:
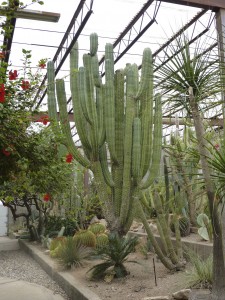
Everything in the park is native to the Chihuahua desert, except for the green house at the end which contains a variety of Cacti from around the world. The most impressive of which was around 15 feet (4.5 meters) tall!
Return Flight
We left the gardens around 15:30 and were back at the airport by 16:00.
The check-in counter is the same process as Albuquerque:
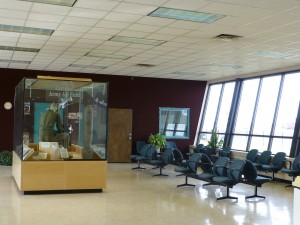
We waited in the small seating area until the pilots came again to check everyone in:
By 16:40, we were again on the aircraft, although this time it was relatively full with 7 passengers. The pilots told us in advance that it would be much bumpier than on the way down, due to high winds. It was indeed pretty turbulent, although I’ve had much worse on bigger jets. The Cessna took it like a champ, and the pilots were doing a good job of trying to mitigate it as much as possible. We spent most of the flight at a pretty low altitude to avoid the bad air.
The flight back was about 20 minutes longer due to the winds, but we landed in Albuquerque right on time around 18:05. We were home in time for dinner. The total trip time was around 10 hours. Driving alone would have taken that long round-trip.
I was really happy with my New Mexico Airlines experience, and will definitely look for other opportunities to fly on these EAS routes. If you’re lucky, you can get a private plane experience for a fraction of the cost.
